 GeoTagr
To be able to tag your DSLR pictures with GPS information is both fun and practical. But to date, most DSLR cameras don’t have GPS built-in or is an expensive hardware add-on option. That includes the Wi-Fi iPad you might own. The last couple of years I’ve used a lot of different solutions to track GPS data while I’m out taking photographs. My first way was to use a Garmin GPS unit and then transfer the information to my Mac, but now, with mobile phones like iPhone and Android, there’s no reason to tug along yet another device.
My weapon of choice now is an app for iPhone and iPad called GeoTagr, a universal app for logging GPS tracks while you photograph, and then tag images with location data. For me, the pictures I want to tag are the RAW images that I import into Adobe Lightroom 4. And with this app, it’s straightforward to accomplish.
Tracking
When your ready to go on your photo walk/assignment, just start GeoTagr. You are greeted with a screen that tells you to set the clock in your camera to the same time as your phone. This is for making it easier to match up the GPS data and pictures later. If you are abroad, there’s an option to correct time zone and time differences in Adobe Lightroom 4, so if you miss this, it’s not the end of the world.
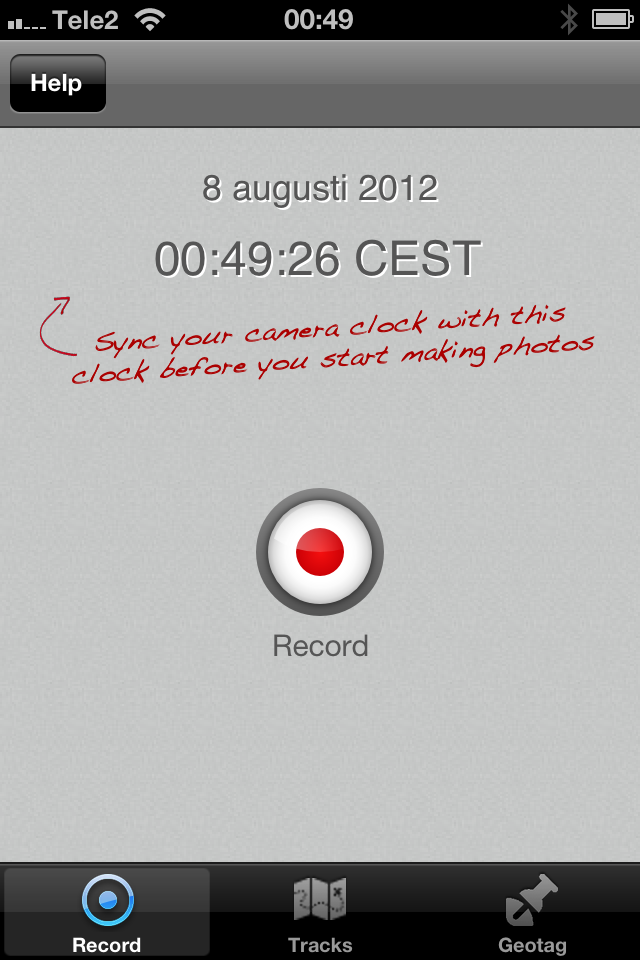
After the time is correct, all you have to do is to press the Start button. Press the power button on your phone to turn off the screen and save batteries. (making sure that the GeoTagr app is still running), put your phone in your pocket and go about your business. I guess that a shirt pocket is better when inside a city with tall buildings, but I haven’t had a reception problem keeping the phone in my front pants pocket.
![]()
As you can see, there is information on how long the battery will last if keeping the program running with the screen turned off. I walked around for half a day, and it hardly made a dent in the battery usage. Much better than other programs I’ve used. Very nice!
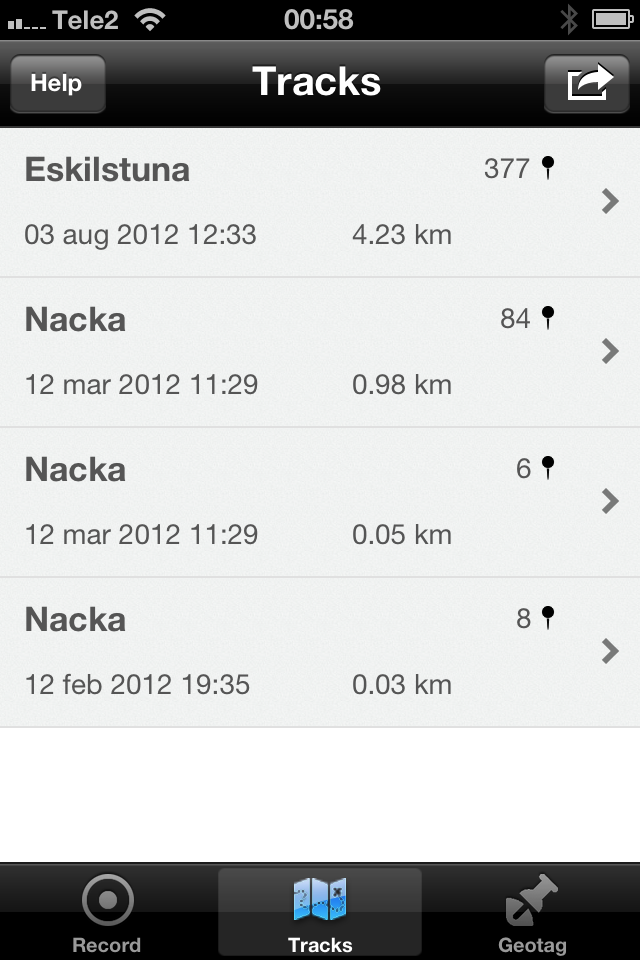
When you are finished taking photos, all you have to do is to press Stop, and the tracking data is saved in a list with the name of the location, tracking points, length of the walk, date and time.
Export
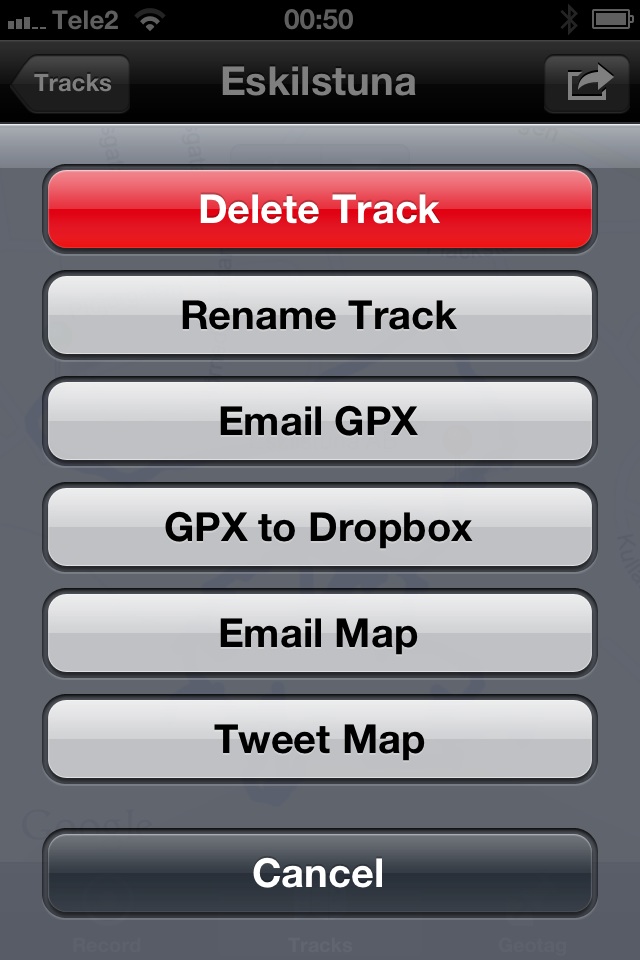
I usually just export a copy to Dropbox and send an email to myself with the GPX file. The Dropbox is a handy backup, and the emailed one is the one I use. So now the data is ready to import to Adobe Lightroom 4.
In the next installment, I’ll show you how to tag the images inside Lightroom 4.
Daniel Ström says
Nice! I’ll try this one out. 🙂
Brian Haven says
Hi. This post is very useful. Just curious if you ever completed and posted the second installment on tagging the images in Adobe Lightroom. I wasn’t able to find that post on your site so if you could post a link to it, that would be great. Thanks for the great content.
Jack Zimmermann says
Hi! I found this video that explains how to use the GPX files and tag your images.
http://tv.adobe.com/watch/creative-suite-podcast-photographers/how-to-use-gpx-logs-to-geotag-your-photos-with-lightroom-4/