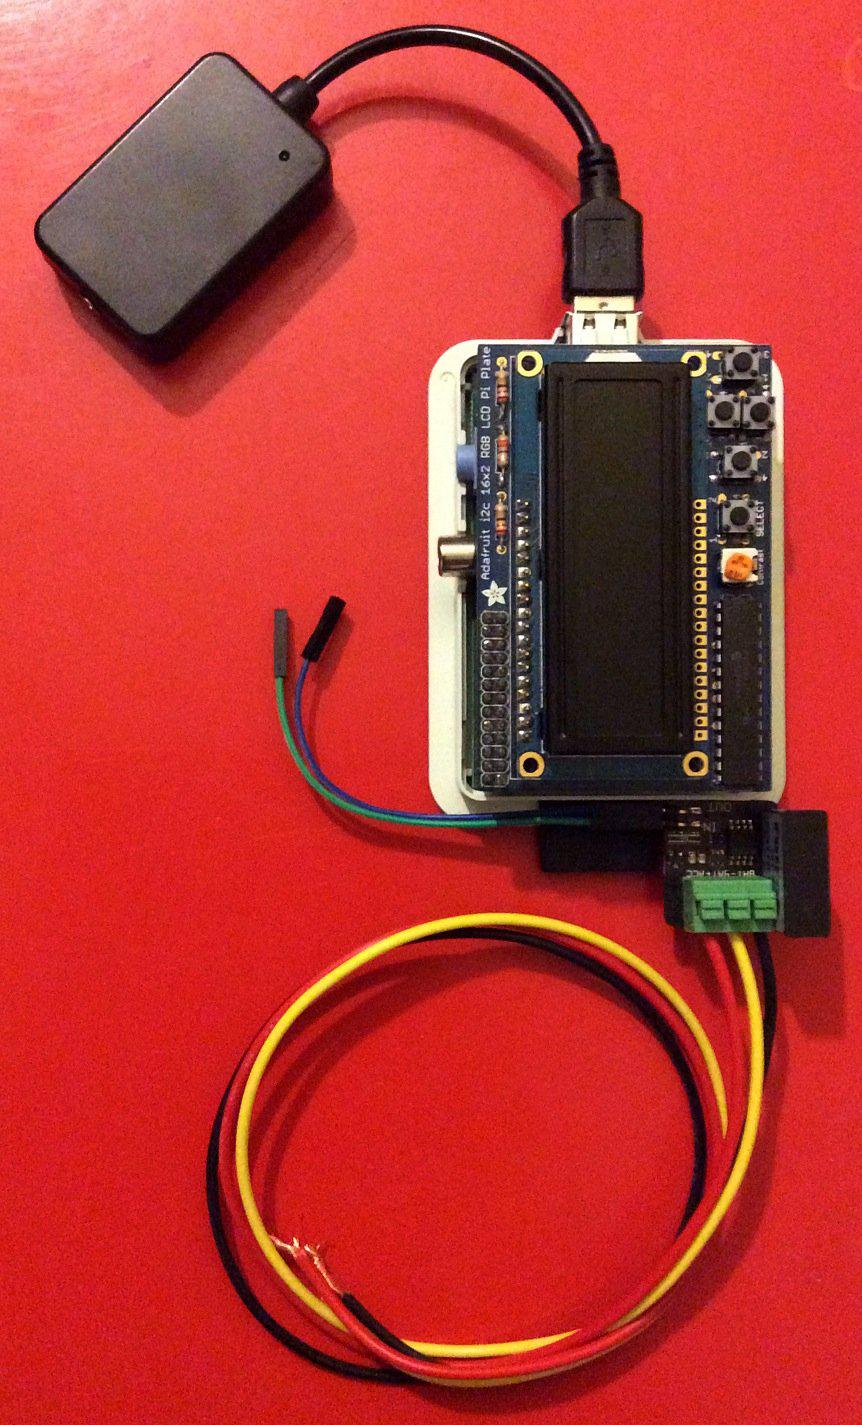
My Raspberry Pi Car Audio Player
A lot of people are using the excellent Linux microcomputer Raspberry Pi and install it in their cars. Usually, they use a color screen that is touch sensitive, being able to play back video and music. But I’m only interested in high-quality audio playback, being able to have all my CDs in lossless FLAC format for optimal sound quality. So a 16x2 LCD with some buttons is plenty. I now have a working system (but not yet installed in my car.) here’s a description of how I’ve built it. Most of the installations I’ve seen the use of the audio out from the Raspberry Pi, but it’s only 11-bit and sounds like crap. I want to use an external DAC, and you can get that to work in XBMC, but only menu and music output, not films. There are some HDMI to audio converters, but I’ll instead use a quality USB DAC.
Power supply
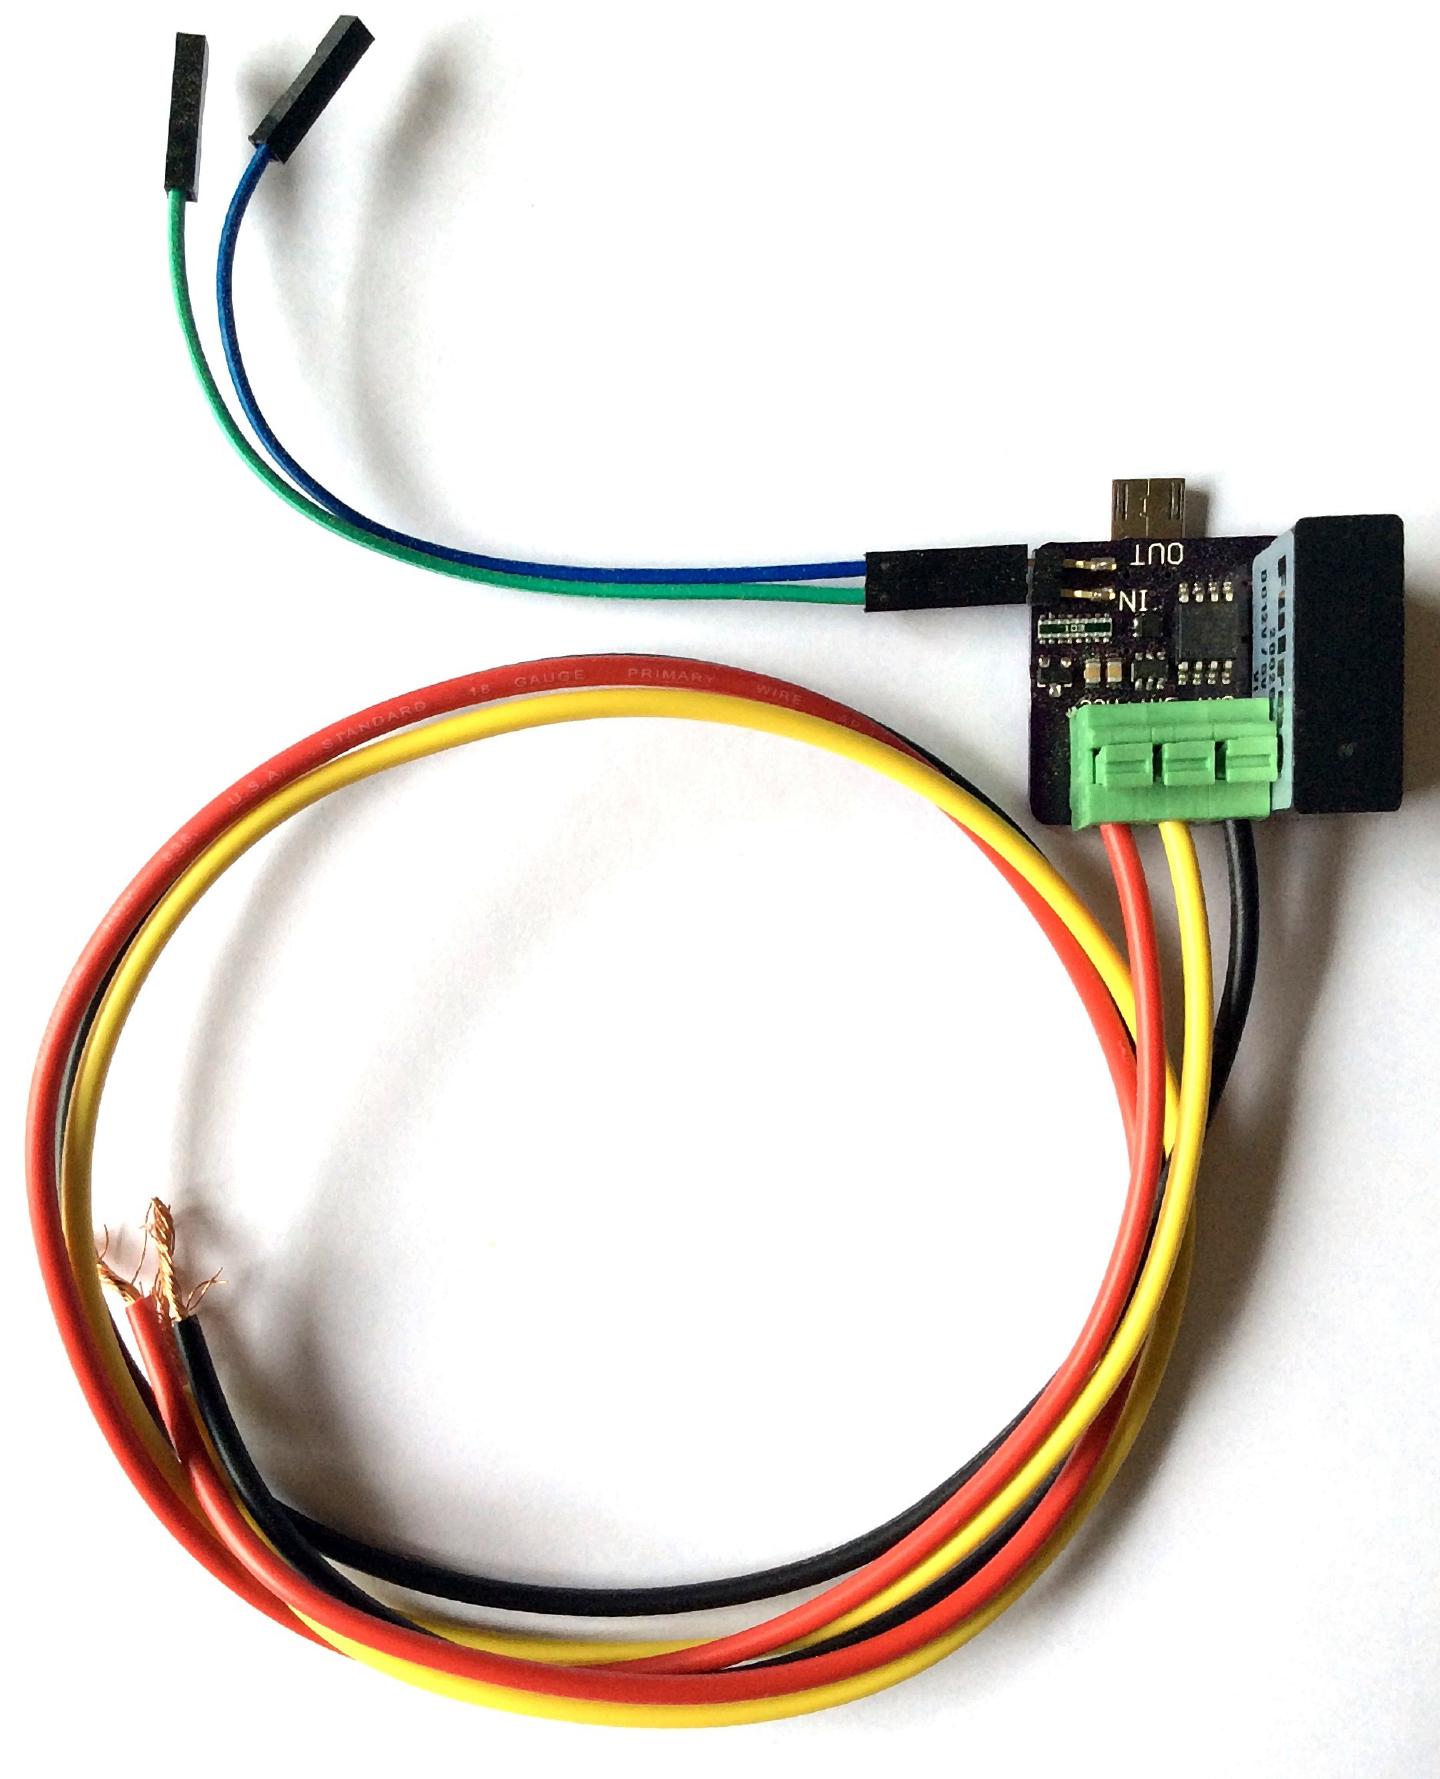
Because a Raspberry Pi is a bona fide Linux computer, you can’t just cut the power when you want to turn it off. There’s a risk of corrupting the filesystem just like on your Mac or PC, so to install it into a car, you need a way to keep the Raspberry Pi-powered on until the shutdown is complete. First I built my power supply with its micro controller to handle the shutdown. But it was large and not very elegant. But after Googling around I found a Raspberry Pi power supply specifically made for use in a car, so I immediately ordered one. There are several different versions, but they only had a 2 Amp version that plugs directly into the Micro-USB connector in stock. Preferably I would have liked the 3 Amp version with two standard female USB connectors on it, but who can wait? And the 2 Amp version manages to drive an SSD drive in a USB enclosure, the HiFimeDIY USB DAC and the AdaFruit 16x2 character LCD display with keypad without a problem, so I’m a happy camper.
I’m going to use a flat cable for the display so I can hide the Raspberry Pi, power supply, and DAC and only show the screen. I probably have to experiment with the length of the cable and see if there is any interference, but hopefully, it will work. And I obviously will need to find an enclosure for the display.
Ignition and shutdown
There are three different leads from the power supply. One is for connecting directly to the car battery, one is the ground connection, and the third is for connecting to the ACC line of ignition. When the power supply senses that the ACC cable is on, it powers up the Raspberry Pi, and when you turn off the ignition and the ACC cable goes low, it sends a signal to the Raspberry Pi to start shutting down. When the Pi is shut down, another connector goes low, and the microcontroller on the power supply turns off the power to the Pi. You can set a timeout, so the computer doesn’t shut down immediately, which is handy if you were just doing a quick errand and didn’t want the Raspberry Pi to have to boot up again. Very handy.
The power supply comes with a simple script for handling the shutdown and is easy to install. You can also change the script to use two of the other GPIO pins if you are using it for something else.
HiFimeDIY USB ES9023 DAC Audio card
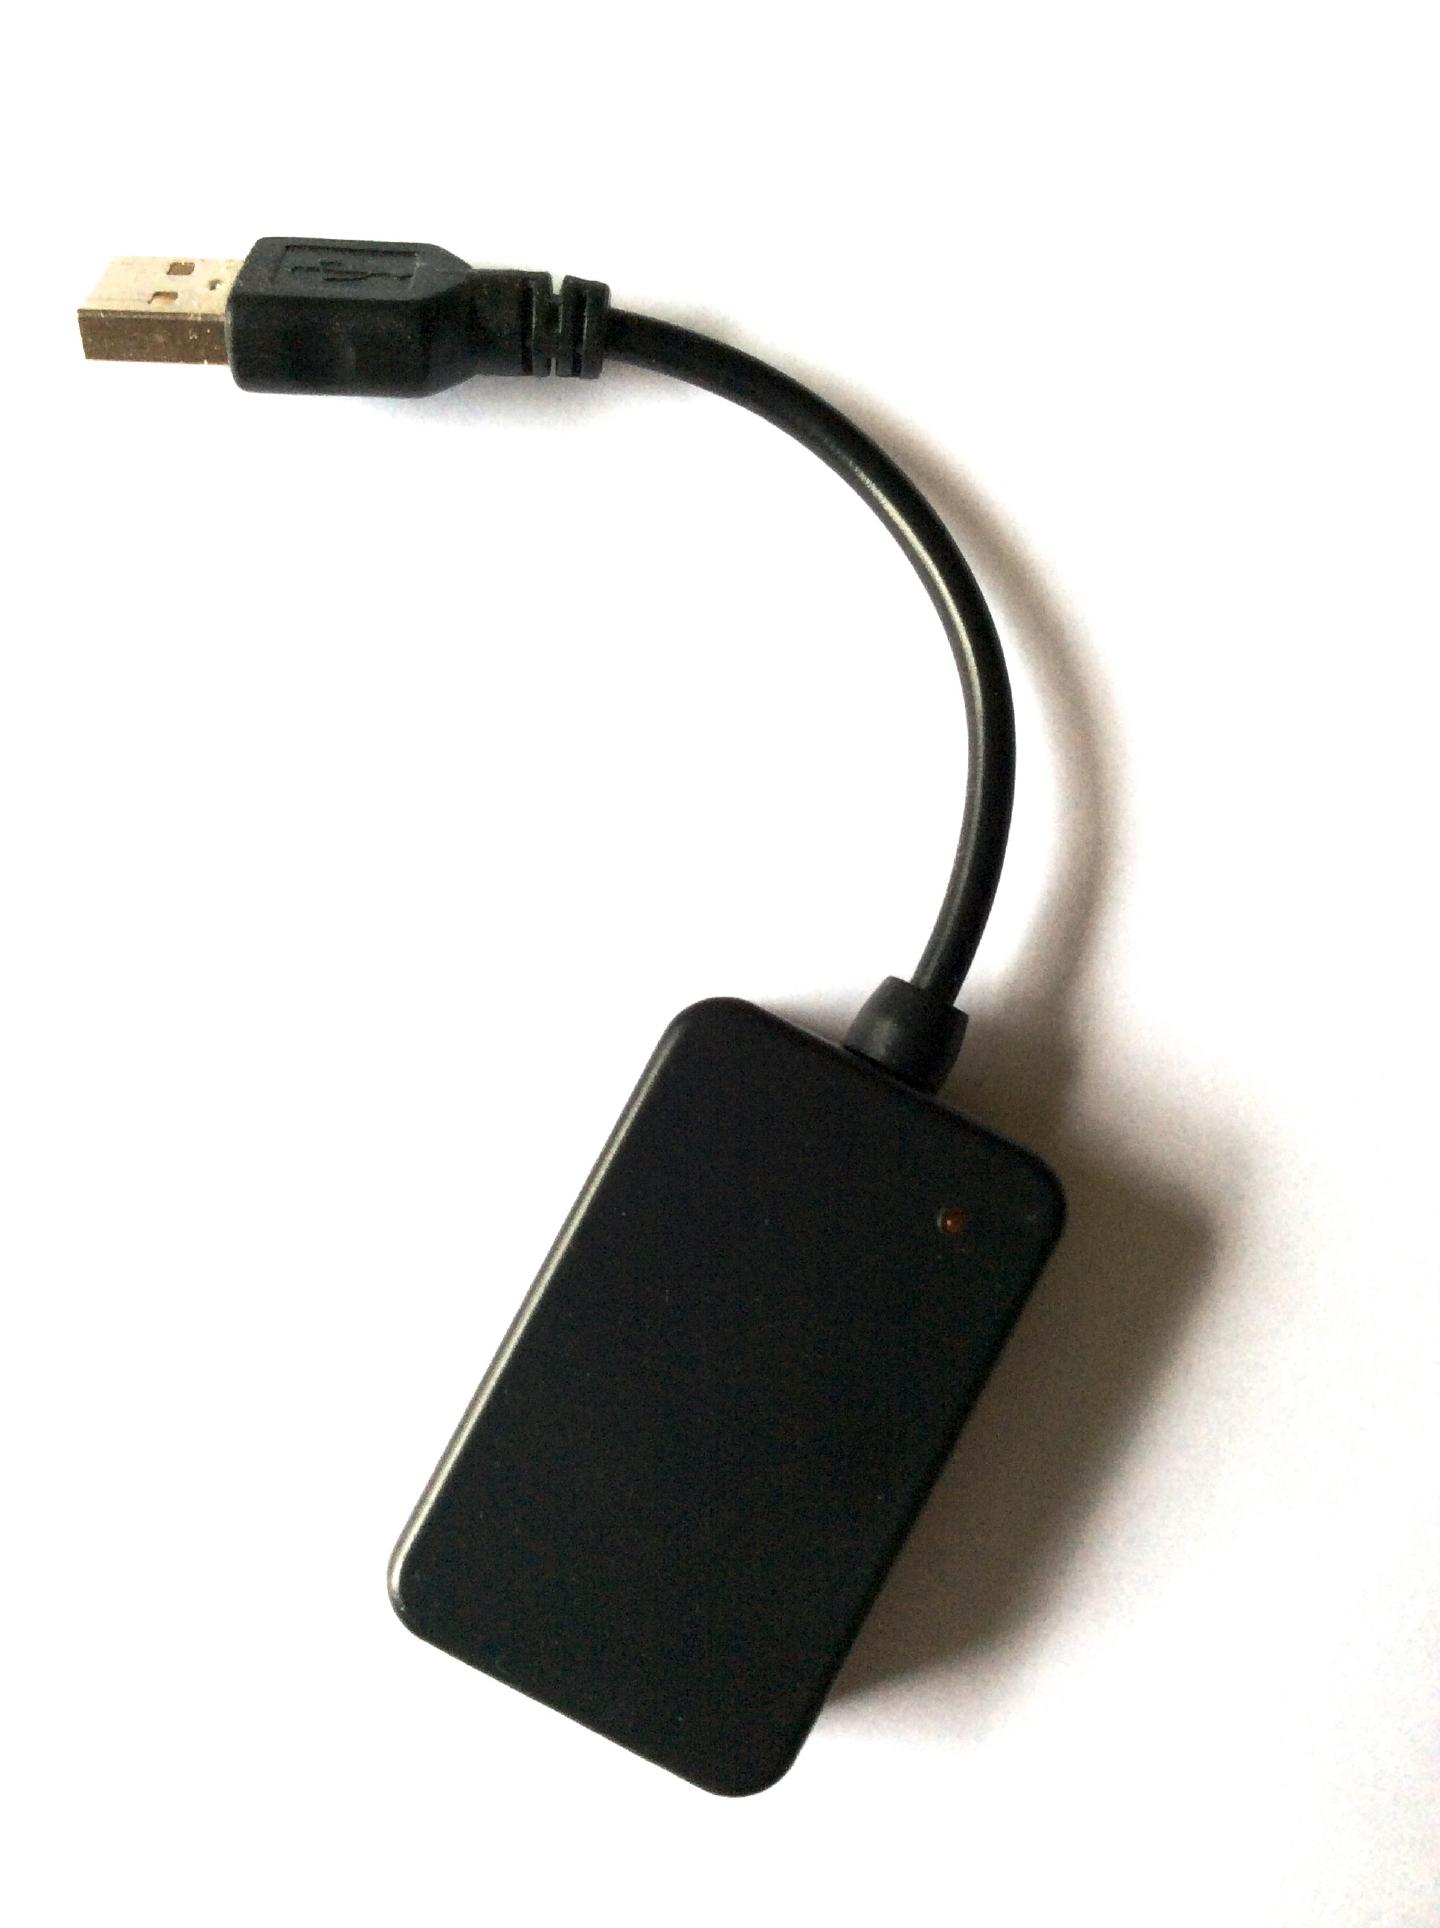
I ordered a USB sound card that I knew worked with the SqeezePlug Linux distribution. It’s called HiFimeDIY and uses an ESS Technology Sabre DAC which is an excellent DAC, so the sound quality is fantastic.
The DAC is plugged into the AUX in on my car stereo system with a 3.5mm to RCA cable.
Software
For handling the playback, I installed the Logitech Squeezebox Server. The server will handle all the maintenance of the audio files on the SSD disk. I also installed SqueezeSlave for playback.
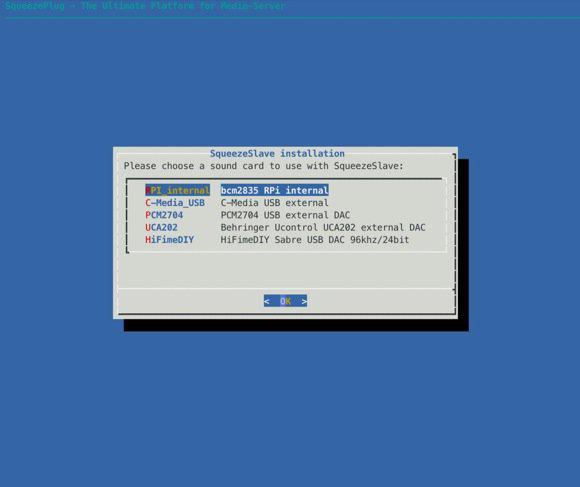
Here’s the audio card selection dialog box.
I’ve written my Python program that handles the communication with the server and for controlling the menu system. It’s up and running, but needs some more development to manage the display of special characters. But it’s good enough right now to use. I will put up the code on GitHub as soon as I cleaned the code up and fixed it some more.
When everything is up and running, I will make a downloadable image of my setup to make it easy for anyone to get this system working. There where some bugs in one of the Python modules that needed patching and some other stuff so that an image would be preferable, so you don’t have to do all that. But I don’t want to upload something half done.
If you have questions or suggestions, write a comment.
Happy hacking!
Hi there! Im working on a project, making a portable squeezebox running with by the Raspberry pi and the same LCD display as you have. I have that display laying around here at home.
I would be glad to view the code that handles the communication between the server (LMS) and the display/buttons. This would help me alot in my upcoming project.
Thax alot, Micke
Hi! I'm still waiting for my SSD disk to be delivered. I ordered it together with a new Bluetooth keyboard that is out of stock, thus the delay. I'll upload the code when I got everything installed and tested.
Great article, thanks for sharing! I just have one question, how do you handle the multiple speaker channels? The DAC's I've seen only have a left and right, which only handles two speakers. What about front L/R, rear L/R and sub outputs, is there a DAC for that? Thanks again.
I'm sending the stereo output from the DAC to my car stereo, which handles the sub out and rear channels.
Oh okay, I'm working on a Rpi standalone to replace my car stereo completely and I thought that's what you were doing too. I'm going with a signal processor which will split the signal and give EQ adjustability too. Thanks again for the article!
Did this ever take off? I’m trying to do exactly this right now
Hi,
exactly what i´m looking for, is the image or github-link already available?
kr
Harry
Hi there!
Exactly this! I want exactly this! :D
Have you managed to upload any of the code to Github for this project yet? I am looking to get this up and running in my car, so would be keen to see how you managed to get the code all working.
Thanks in advance!
Hi! Yeah, I know. I need a swift kick in the butt and finish this project. My car has broken down, but I'm about to replace my original Squeezebox player in the living room so I can use this system. With the added benefit of higher resolution audio playback than the Squeezebox manages. I'm thinking of setting up a Raspberry Pi this weekend and try to get a crude, but working system on Github next week. Hopefully...
did you ever get round to finishing this? would love the code.
Any updates on this?
Unfortunately I don't have a working car right now, so the project is on the back burner. Too much libraries have to be patched to make a working system. I'd go the http://www.max2play.com/en/ route. They have built-in support for external IR and screen support.