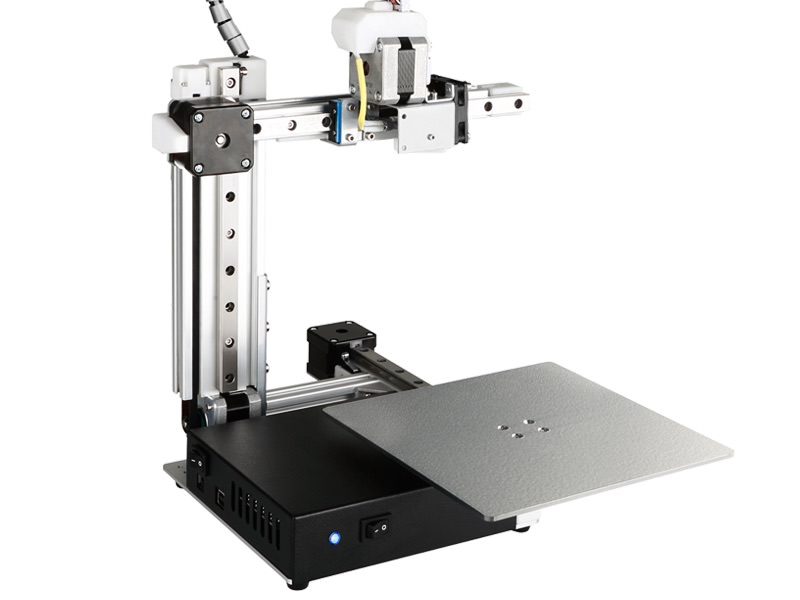
 I’ve been busy the last couple of weeks, learning all the ins and outs of my new Cetus3D 3D-printer. It’s a cheap printer for around $300, but it has linear rails and can give excellent results. Unfortunately, the calibration quality from the factory was terrible, which is unfortunate on such a superb printer.
My Y-axis was way out. If I zeroed out the nozzle on the left side, the right side was 2.0 lower. There is a calibration feature inside the program, but you need to always print with a raft to get your prints level, with the accompanied wastage of PLA plastic. But I finally found an easy way of fixing the Y-axis adjustment. Here’s how I did it.
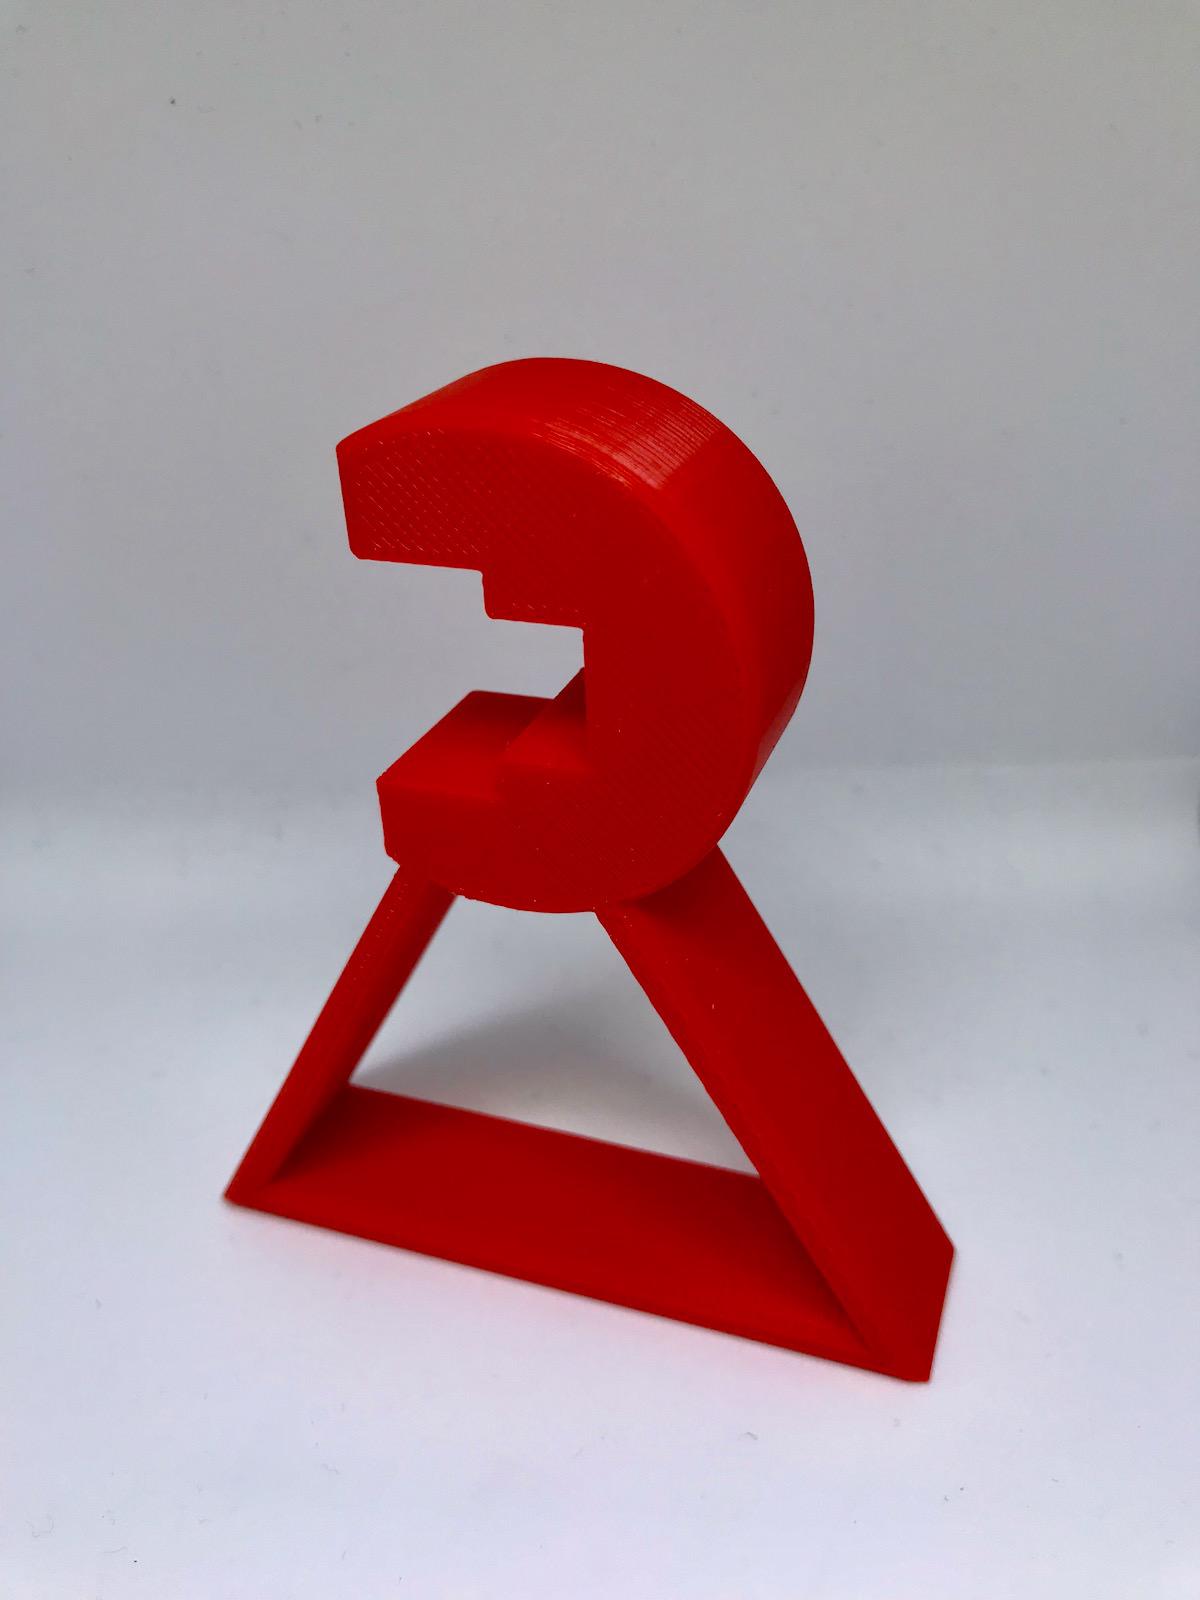
I found a stand on Thingiverse, so I printed two of them. I just needed to move the print plate to the center and attach the calibration arms to the axis after removing the print head. They fit snuggly on the Y-axis linear rails.
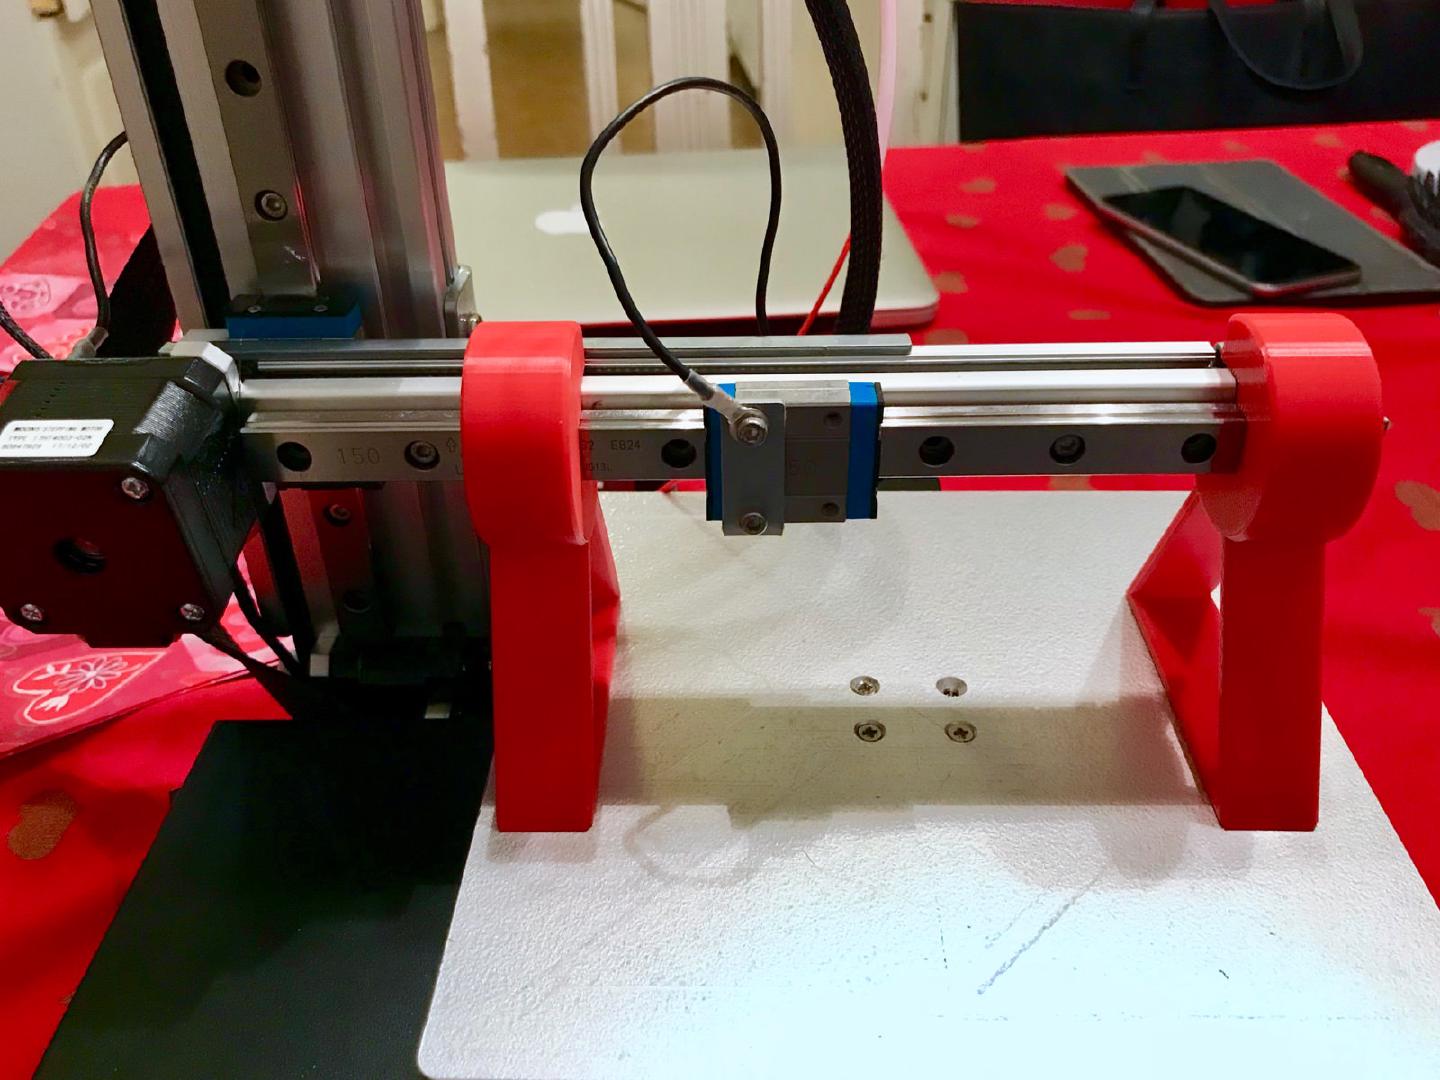
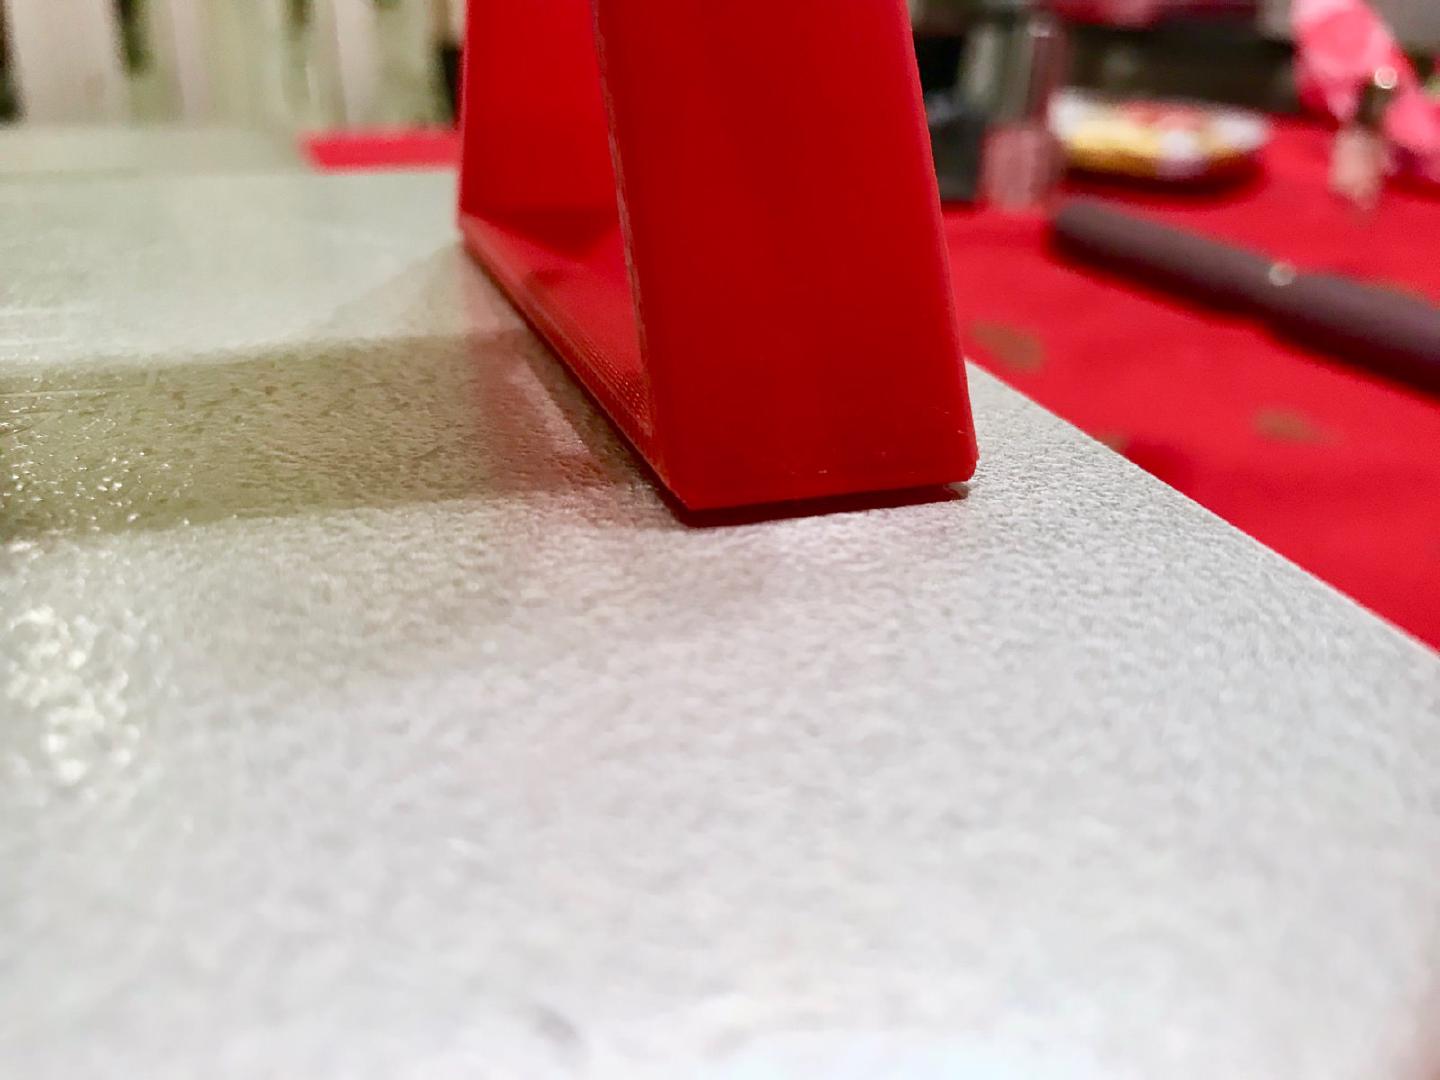
After checking, I noticed the 2mm gap on the right side of the alignment stands.
So I turned the printer around and removed the three screws that hold the Y-axis rails to the Z-axis tower. Just make sure to use a pen to mark the exact location of the arm to be able to assemble it as it was before.
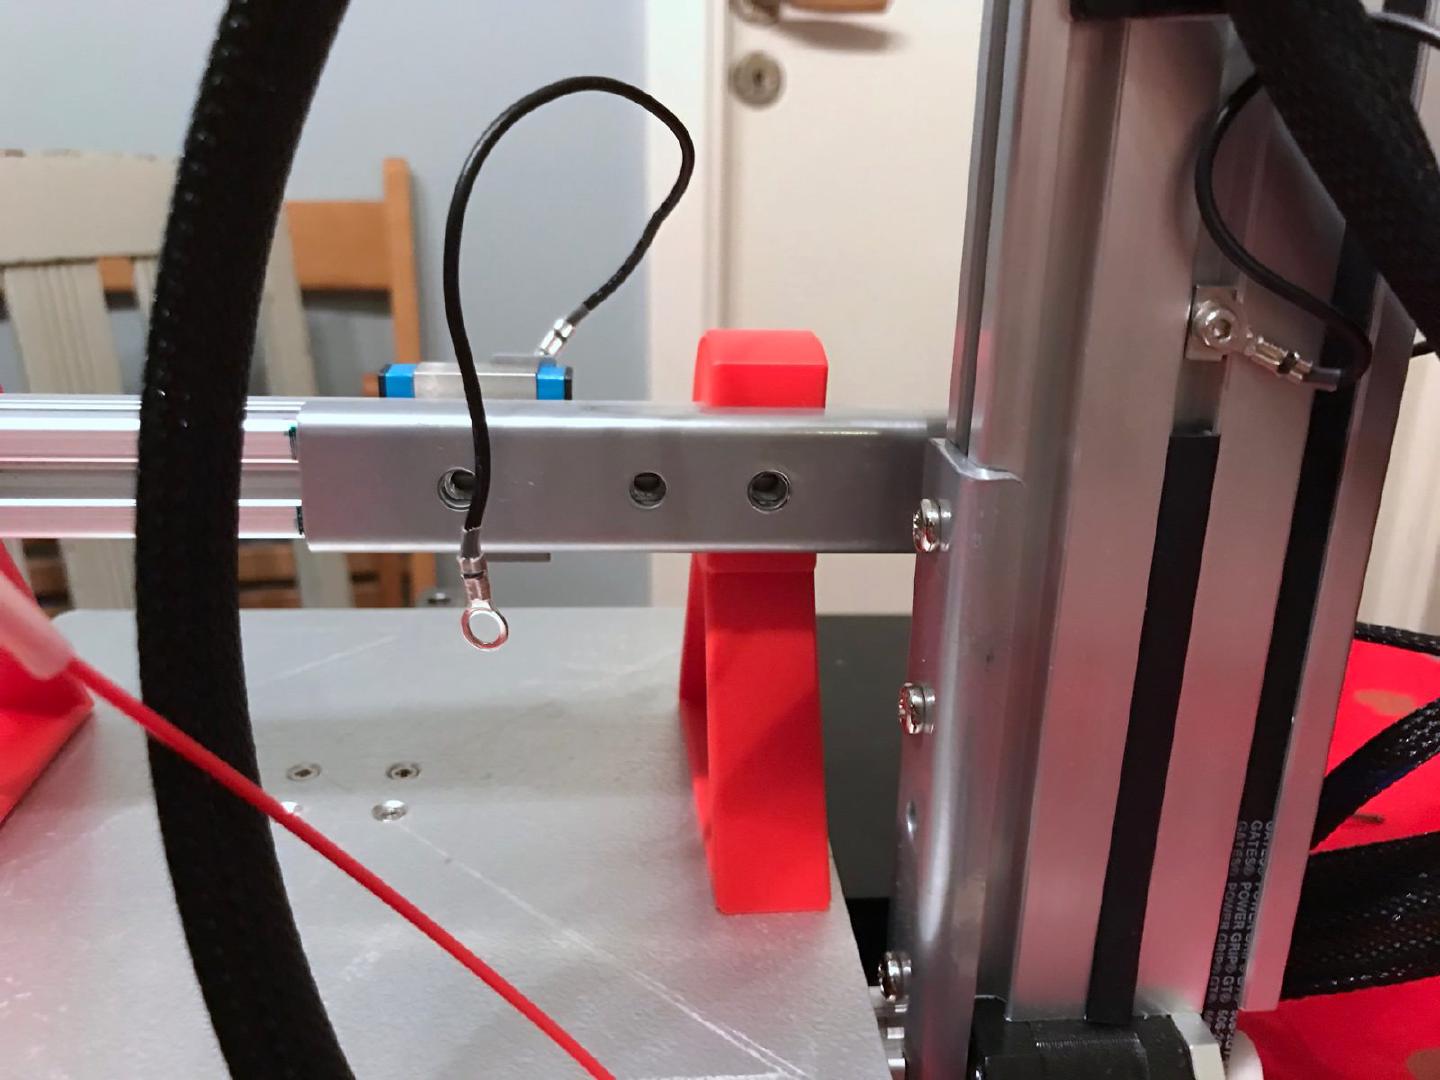
Instead of removing the whole arm, I just used a screwdriver to pry out the size of the axis closest to the Z-arm. Behind it, there are six screws. The first leftmost screws are for holding a plastic bracket, but the next two are the ones you need to loosen to be able to adjust the Y-axis. Using the supplied hex wrench, I loosened the screws while holding down the arm so that both the printed alignment stands where touching the print bed. While continuing to hold it in place, I tightened the screws. So now I have a difference of 0.1 instead of 2.0 when calibrating. I could make it even better, but it is close enough for me.
The printing results are now much better, and I’m no longer forced to use rafters.
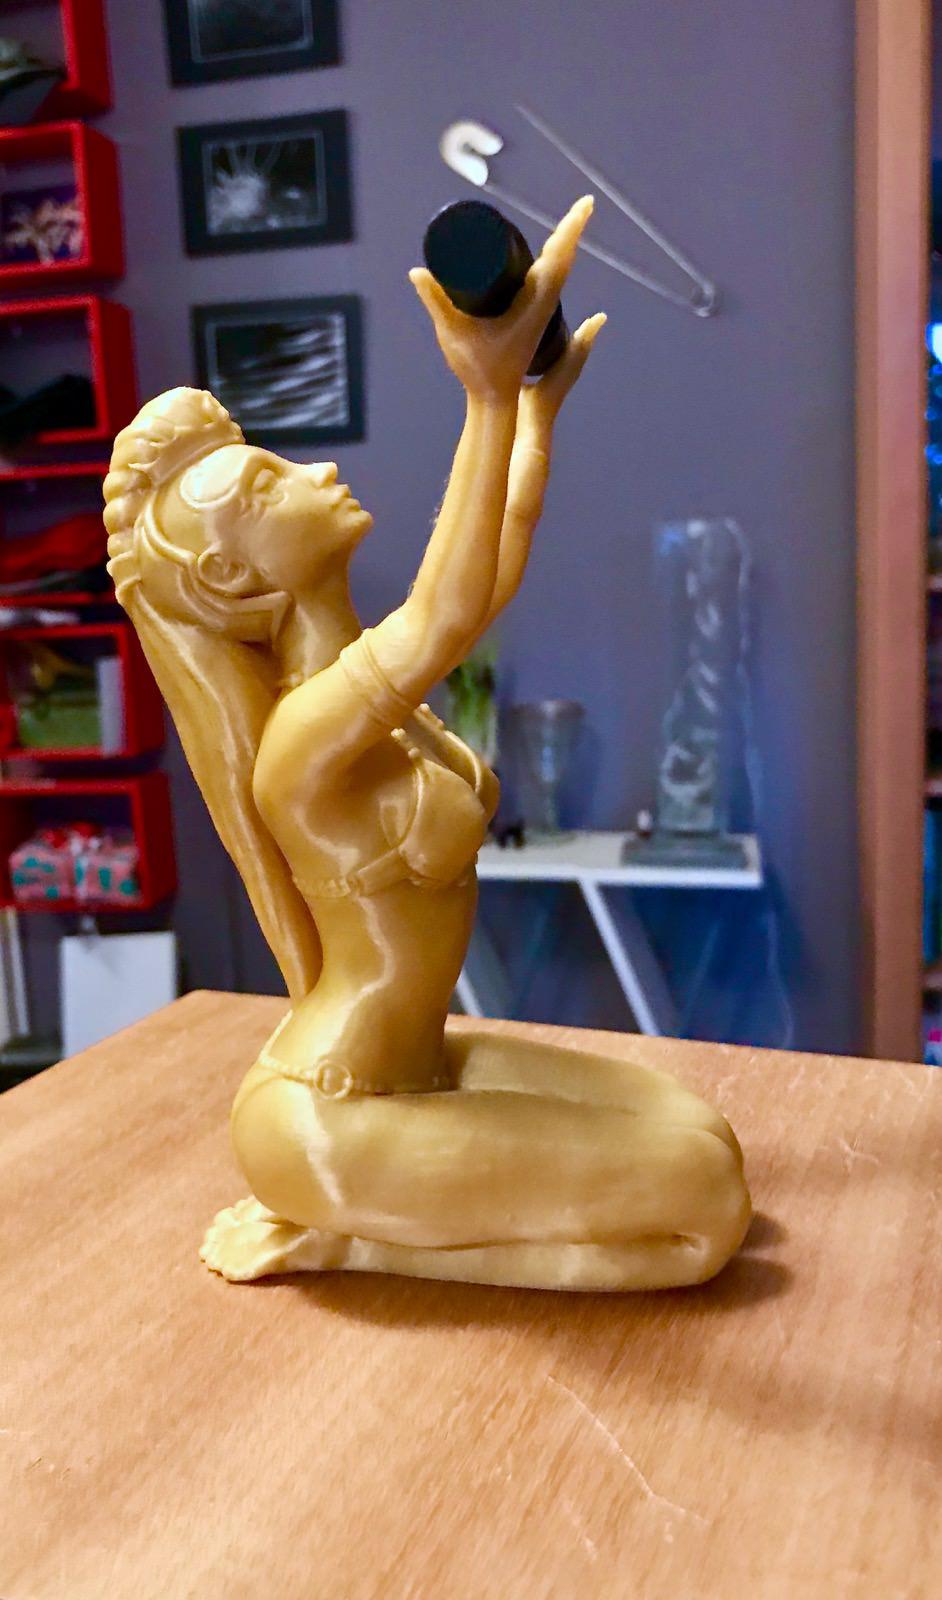
A big thanks to wbvreeuwijk for making the calibration brackets. They make it so easy to be sure it’s calibrated now after disassembling the printer.
Really useful, I had time without finding a good content about it, I am very passionate about the world of 3d printers, and I am always looking for new things like this, the truth is that your information has been very helpful to me.